 Seamless transitions and inversions in a yoga practice require movement from a strong and stable center. While there are four main muscle groups that form the abdominals, the transversus abdominis (TVA) is the deepest layer that stabilizes the entire trunk of the body. Thus, we’ve created this 15-minute yoga sequence to improve core strength at the deepest level.
I personally love getting upside-down and am currently working toward a press handstand. While many yoga classes include elements that will build abdominal strength, many fail to address the TVA and psoas strength needed to press into an inversion. Thus, I use this quick sequence throughout my workday to (1) provide a boost of energy, (2) increase my strength for inversions in a focused way, and (3) maximize my energy and efficiency.
You can add this sequence to a current yoga flow, or you can try it on your own in addition to your own practice to tap into your immense internal power. I’ve done both with great success, and I invite you to do the same!
QUICK ANATOMY REVIEW OF THE CORE
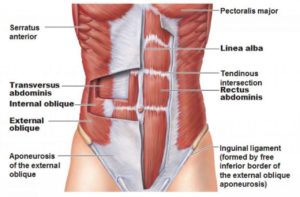
Here are the four basic muscle groups that form the abdominals:
- Transversus Abdominis, the deepest layer, runs horizontally across the abdomen and wraps around the entire torso from front to back. It also connects the ribs and pelvis. This corset-like muscle group maintains internal abdominal pressure, stabilizes the trunk, and is recruited almost any time a limb of the body moves.
- The rectus abdominis is a long, flat muscle positioned between the ribs and pubic bone at the front of the pelvis. It is responsible for flexing the lumbar spine, allowing pelvic, and aiding in respiration.
- External obliques are located on each side of the rectus abdominis (moving from the ribs down to the iliac crest) and are responsible for allowing the body to perform opposite side-body twisting movements.
- The internal obliques run upwards from the hip bones to the midline of the body. They work in conjunction with the diaphragm to aid in respiration, as well as help the body side bend and perform same-side twisting motions.
THE TVA AND YOGA
You probably cue your class to “engage their core.” but do students even really know what you mean? What teachers often mean is that you want to pull in the abdominal wall. This is done by engaging the transversus abdominis. Breathe out gently, and draw the belly button toward the spine. The muscles then relax on the inhale. The spine remains neutral the entire time. Doing this allows the core and pelvic floor to work together. This drawing-in and activating the TVA is opposite of the pushing-out action of rectus abdominis exercises (like crunches). Learning how to do this properly, you gain the following benefits:
- Muscle memory to move from the depth of the core
- Stable trunk
- Increased functional movement of the torso
- Improved ease with which to transition between yoga poses
- Enhanced strength to get upside down in any posture
- Flatter low belly
MAKE THE MOST OF THIS 15-MINUTE SEQUENCE
The yoga sequence to improve core strength below takes a total of 15 minutes to complete. We alternate strength-building poses with lengthening ones to create more balance in the body. You will definitely feel the burning sensation as the muscle fibers fire, and you form the muscle memory necessary to tackle these poses and more. I recommend using a timer to keep yourself on track. Maybe even take a video of yourself to track your progress over the course of a few months.
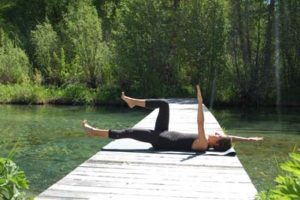
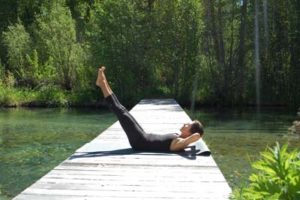
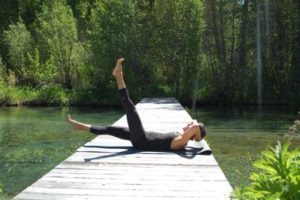
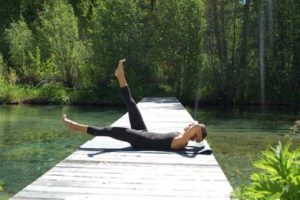
(1) SUPINE ARM AND LEG EXTENSIONS
Length: 1 minute
Purpose: The neutral spine and pelvis in this position allow you to tune into the engagement of the TVA. The arms and legs also serve as levers here, and you can adjust the angle of them to make the pose as challenging as you feel appropriate.
Additional Support:
- Place a strap beneath your low back and make sure you cannot pull the strap at all (meaning the low back has some gentle pressure downward). This ensures the TVA is engaged.
- Relax the shoulders and neck continuously. Lower the arms and legs less to make the pose easier at first.
(2) BRIDGE POSE
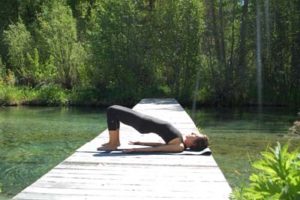 Length: 1 minute
Purpose: This gentle backbend is a counterbalance to the strength built in the first minute and it lengthens the entire front line of the body.
Additional Notes:
- Place a block underneath the pelvis to provide more relaxation.
- Drag the heels toward the glutes to slightly engage the hamstrings.
- Lightly touch your booty to ensure the glutes are not clenching to help in this process.
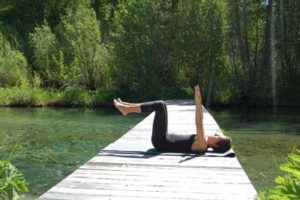
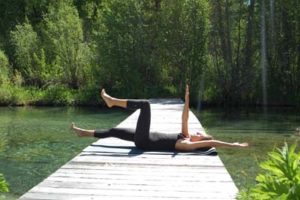
(3) LOW BOAT CRUNCH
Length: 1 minute
Purpose: This active posture directly targets the core, and again using moving levers of the legs to add difficulty to the pose.
Additional Notes: You can work your way into this pose, slowly increasing the difficulty. Stage 1 would be to keep the legs vertical. The second stage would be to lower the legs to 60 degrees. Stage 3 would be to then alternately lower each leg.
(4) UPWARD FACING DOG
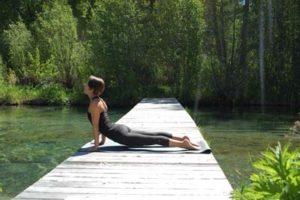 Length: 1 minute
Purpose: This re-lengthens the front of the body directly. Plus, it starts to engage the strength of the upper body.
Additional Notes:
- Take cobra if updog is too strong of a backbend.
- You can also take 30 seconds in up dog, then 30 seconds in down dog if you want a variation.
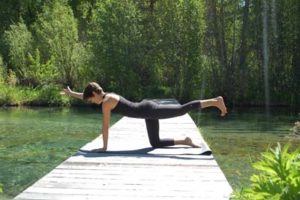
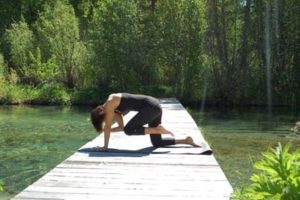
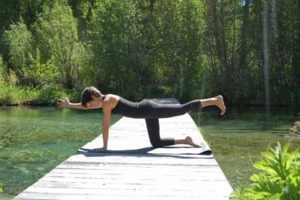
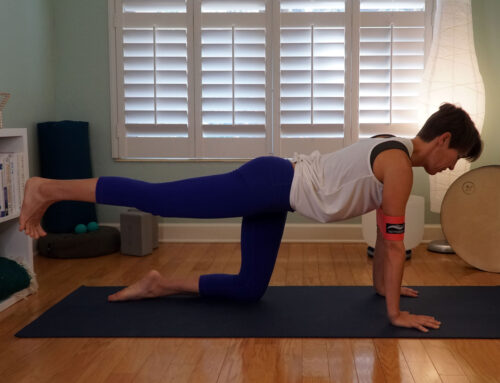
(5) TABLETOP WITH ARM AND LEG EXTENSIONS
Length: 1 minute
Purpose: This action mirrors the first pose, only this time more upper body strength is needed. More balance is also required in the core to move the arms and legs in opposite directions.
(6) UTTANASANA
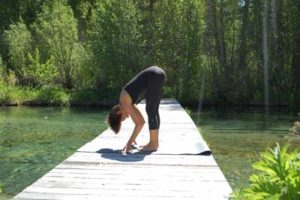 Length: 1 minute
Purpose: Many advanced postures require length in the hamstrings as well as strength in the core. We use yoga poses to build strength in the tranvsersus abdominus, but we also want to create the elongated musculature in the back body. Thus, this pose serves to address this
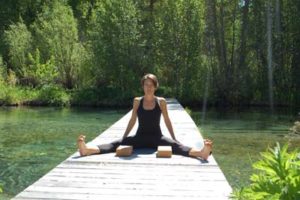
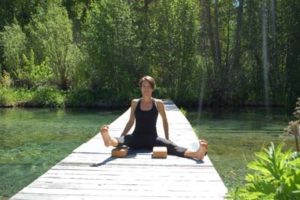
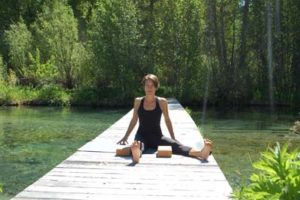
(7) ACTIVE UPAVISTA KONASANA, VARIATION
Length: 1 minute
Purpose: With the sit bones grounded, this variation can help isolate psoas and TVA strength needed to invert.
Additional Notes:
- Start with small, low objects at first (like a hairbrush)
- Move to blocks when you build more strength
- Keep your spine upright and avoid leaning back
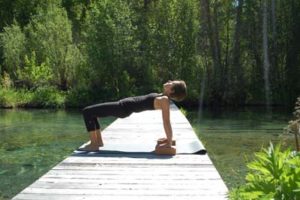
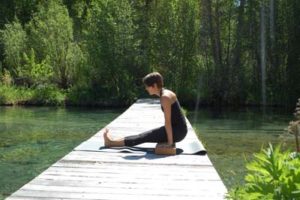
(8) L-SIT AND INVERTED TABLETOP
Length: 1 minute
Purpose: This movement-based sequence will help directly alternate the core strength to get into an L-SIT position with the lengthening offered in inverted tabletop. Even more upper body endurance is built.
Additional Notes:
- Use blocks to create more space in which to move the body.
(9) PASCHIMOTTANSANA
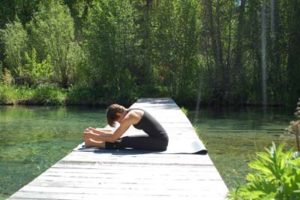 Length: 1 minute
Purpose: Again, we are re-lengthening the entire back body. The transition is also smooth since you are already seated.
Additional Notes:
- Bend the knees, or place the blocks beneath your knees if you have really tight hamstrings.
Once the students come back to their mat, have them take another neutral position. This can be Adho Mukha Svanasana or Uttanasa.
(10-12) REPEAT L-SITS AND INVERTED TABLE
Length: 2 minutes TOTAL
Purpose: The goal here is to now build strength holding the same poses above. Hold supported or unsupported L-SIT for 30 seconds. Then, hold inverted table for 30 seconds. Repeat for a second minute.
Additional Notes:
- The last 30 seconds in the Inverted table can be substituted for a seated gentle backbend. This can alleviate tension in the arms, should any arise.
(13) FOREARM PLANK
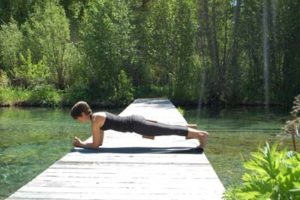 Length: 1 minute
Purpose: Give the wrists a break. Use the entire body strength to hold this pose.
Additional Notes:
- Place a block between the thighs to keep them hugging in, spiraling up and back, and engaging the TVA.
- You can take a counterbalance in dolphin pose before moving on to 14 to lengthen the lats and give the hamstrings some more TLC.
(14) GET UPSIDE DOWN
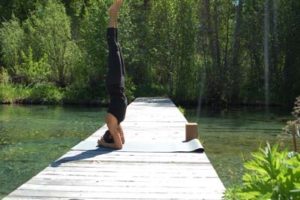 Length: 1 minute
Purpose: It’s time to see what it’s like to engage the core when upside down. If you are at home, or in a studio, you can use the wall to take the balance element out of the equation.
Additional Notes: If handstand is not part of your practice, then repeat (a) forearm plank with block, (b) Dolphin with block between your legs), (c) sirsasana, or (d) pincha mayurasana.
(15) PADA HASTASANA
Length: 1 minute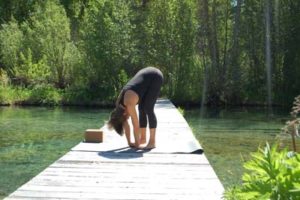
Purpose: This forward bend lengthens the back body yet again, and also gives the wrists a balancing stretch.
Additional Notes:
- Bend the knees, if that makes it easier to get the palms under the feet.
- Simply repeat uttanasana again if pada hastasana is unattainable or uncomfortable.





Leave A Comment