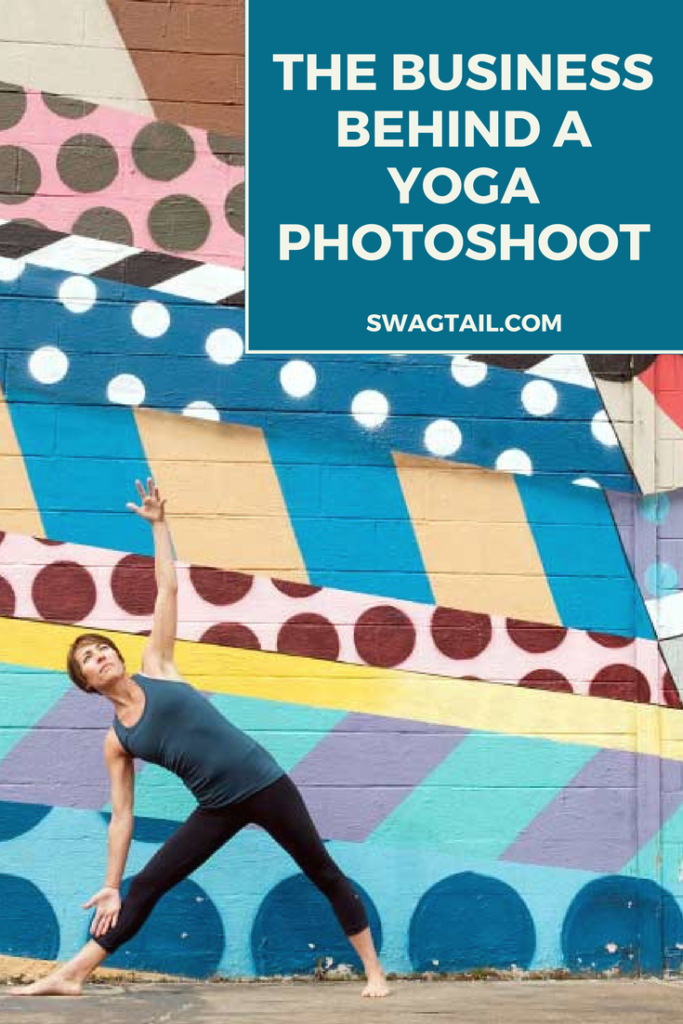
 A yoga photo shoot can be one of the best ways to create beautiful visual content for your business. However, those stunning photos are like the icing on the cake, and it’s necessary to take certain steps before a photo shoot to ensure those images are yours (and can be used by you in any way in the future).
Unfortunately, I learned this the hard way. I had been given written approval to hold a photo shoot at the studio where I was currently teaching. It was only after the photos had been taken that the owner informed me studio logos would need to be placed on all images used commercially. This was not part of our original arrangement, and I was heartbroken.
Since I use all experiences to learn and grow, I’ve since used the following business steps outlined in this blog to make sure I have the rights to use any photos garnered from a shoot to build my own brand. My hope is that you save a whole lot of time, energy, and money in the process as you follow them, too.
Photo Credit: Jay Farrell
PREPARE LIKE A PRO
As with many things in life, it’s far better to be over-prepared. The same goes when you plan to run a yoga meeting or organize a retreat. The business elements of a yoga photo shoot are no different. In fact, it’s a lot like planning for an adventure. You get to create the vision, you get to determine the destination, and you get to decide who travels with you on the journey. The steps outlined below will help you make the entire process more seamless and fun along the way.
STEP 1: CLARIFY YOUR INTENTION
Photos tell the story about you and your brand. Whether you desire great pictures for your website, social media channels, or other marketing material, it’s essential to have a clear idea about the end game for your photos. Said another way, you want to know the purpose and usage of such photos before you even step foot in front of a camera.
To clarify your intention, ask yourself the following questions:
- In what capacities would I like to use these photos? (Website? Social Media? etc?)
- Will my images be used for print material, such as business cards or workshop flyers?
- Would I prefer to shoot inside or outside? Or, both?
- Will I want my photos to be up close? Or, do I want more empty space in the frame?
- Will I want my photos in color, or black and white? Or, any other specific color schemes?
- In what ways can the images in this shoot reflect my joy of yoga?
- Who will most likely see my photos? What are characteristics of those people?
- What emotions would I like to evoke from those who see my pictures?
- How much am I willing to pay for my photos?
Take some time to write down your thoughts. You might not have all of the answers now, but just asking these questions in the first place will get your mental wheels spinning in the right direction.
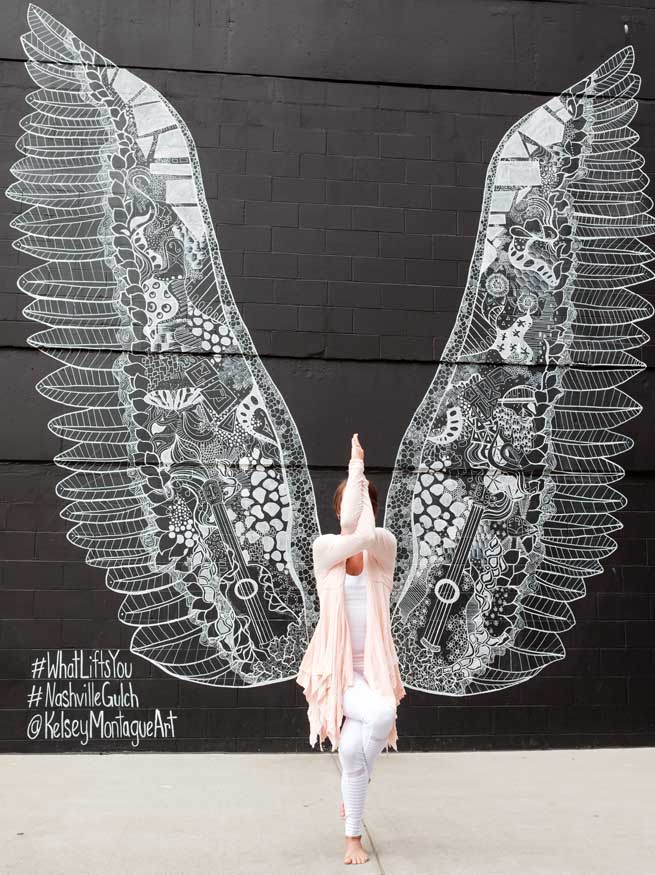
Photo Credit: Alvaro Araujo Alcalde
STEP 2: FIND A GREAT PHOTOGRAPHER
You might be blessed to know a stunning, talented photographer already. If that’s the case, awesome! Let them know how much you appreciate them!
If you’re in the market for someone, or you’re traveling and want to get some photos taken while on the road, you’ll probably have to explore your options online. Begin a search for photographers, or yoga photographers or even commercial photographers, in the region you’re looking to shoot. Then, sift through the noise and find a great photographer that could best represent your brand using the following tips.
Please note, that finding a photographer that specializes in yoga may be a bit challenging. Don’t freak out or get overwhelmed. I’ve worked with numerous photographers that are so talented that they can take their expert eye, sense of balance, and listening ear to give you exactly what you want (and, in many cases, images that far exceed your expectations).
TIP 1: CHECK THE VIBE OF A PHOTOGRAPHER’S WEBSITE
The familiar adage says that “you never get a second chance to make a first impression.” This couldn’t be more true with a website. Your gut response about a site will tell you a lot about the person behind the camera. Ask yourself:
- Do I like the general feel of the site?
- Is it modern, clean-looking, and quick-to-load (Seriously, no one likes waiting for photos!)
- Are the first images I see inviting, captivating, intriguing, or beautiful?
- When reading the photographer’s bio, could I potentially resonate with this person?
- Is the photographer well-qualified and experienced?
You might look at numerous websites, and many may not make it past a first glance. Yet, if a few do peak your interest, then research them a little further with the other tips below.
TIP 2: REVIEW THEIR PORTFOLIO IN DEPTH
We all want to put our best foot forward, and photographers will do this by placing their best images at the forefront of their online gallery. If their initial photo style grabs your attention, dig a little deeper. Make sure their images remain high quality throughout the site. You’ll also discover the numerous ways in which the photographer uses lighting, camera angles, and balance within an environment to capture their images. If you like what you see, dig deeper still.
TIP 3: DETERMINE PRICING
Ideally, you already have a budget in mind and you want to get the most out of your investment. Many times, you can score some amazing images within a 60-90 minute session. See if they offer something like that, which might be labeled as a headshot or mini-session, on their site.
Many professional photographers, however, don’t have specific pricing packages listed up front. That’s okay. Email them directly for a quote that would reflect the length of the session, location, and the number of photos you desire.
TIP 4: GAUGE THEIR PROFESSIONALISM BEFORE TEAMING UP
If selecting a professional photographer, you want to make sure they are excellent on all fronts (not just picture quality). You can gauge this by:
- How quickly they respond to your email
- The way in which they converse via email
- The time frame in which they are available to shoot
- Their ability to provide a specific quote based on what you want
- The questions they ask you for clarification about your goals for the session
If you find a photographer that looks to be a good fit, get ready to flesh out the specifics with them about the photo shoot.
STEP 3: ORGANIZE LOGISTICAL DETAILS
The business elements of a yoga photo shoot are really about your ability to organize the components necessary to get to a final product–your images. One big part of this is the skill to negotiate the logistics of the shoot with the photographer as clearly as possible from the beginning.
 DATE AND TIME:
- What date will work for you both?
- What time will you arrive for the shoot?
- How long with the session last?
- If an outdoor session gets ruined by weather, what are some backup dates that might work? (This can happen often, and if a photographer is busy, you might not want to wait a month before you could reschedule).
LOCATION:
- Will the session take place in one location? Or multiple locations?
- What are the addresses of such locations?
- Is this a public or private location?
- Will there be other people present? And, if so, would this affect the time you want to schedule your shoot?
PAYMENT DETAILS:
- Is a deposit required?
- When do I pay the full amount?
- How do they prefer to be paid?
- What are the specifics included in the initial quote? (Time at shoot, basic editing, etc)
- What additional fees might increase the total cost of the photo shoot? (Parking, admission fees, property fees, additional editing upgrades, etc)
These details, and more, should be outlined clearly in the photographer’s contract.
Photo Credit: Jay Farrell
STEP 4: GET YOUR PAPERWORK IN ORDER
You will need to fill out the appropriate paperwork before a photo shoot to Cover your Asana, and thus ensure you will be able to use all photos from the shoot for your yoga business. Consider the following documents you will need to have signed:
PROPERTY RELEASE FORM
If you want to use your photos commercially, or in any business capacity, you will need a property release form. This is true for any private property. Even if you are simply taking these photos at a studio where you currently teach (and the owner gave you written or verbal consent to use the space), you should still have the owner sign a property release form. Many times, you benefit the studio by using their space, as they also gain visibility. You just want to make sure you are able to use the photos how YOU wish, and not how the OWNER wants them to be shared.
Please note that some private property locations charge a fee to take photos on the premises. Other locations, such as National Parks, also have their own list of regulations. Take note of any specific regulations, and the additional costs that might accompany your photo shoot.
Generally speaking, public property can be used for your own commercial photography purposes. If you are in doubt, double check with your photographer, or check out more details at photoattorney.com.
Photo Credit: Ember and Earth Photography
MODEL RELEASE FORM
There are proper and improper ways to include others in your yoga photos. From a business standpoint, anyone else being used in your photo shoot should sign a model release form. This is true even if the person is a friend, family member or colleague. The goal here is to prevent them from changing their mind about being seen in a photo down the road, and thus prevent you from using any photos in which you put in lots of time, energy, and resources to create. Make sure to keep a copy for yourself, and provide one for the photographer.
PHOTOGRAPHER’S CONTRACT
Some details included in the photographer’s contract were outlined in Step 3. Read the rest of their fine print carefully, including the:
- Cancellation policy
- Usage permissions of photos
- Description of standard edits
- Copyright details
- Length of time photos will be available for online retrieval by you
- Locations at which photos will be posted by photographer (such as their website, blog, or social media sites)
- Miscellaneous details that may have not been discussed previously
ADDITIONAL NOTES
Not all photographers I have worked with have provided a contract. Some budding professionals are still working out their own logistical formatting. In these cases, we negotiated all details in writing via email correspondence and I kept digital and printed records of all emails. If you find yourself in a situation like this, use your instinct and intellect to sort out if you still want to work with that photographer. Remember, you always have choices and options. Exercise that power wisely.
Keep in mind that photographers cannot give anyone else your content without 1) your permission, 2) being paid a license fee to use them, and 3) you being paid a model fee of some kind. In any of the above cases, the photographer would need to contact you to negotiate any of those details with you before selling off those photos. Any photographer that is not willing to go to bat for your on that level is someone with whom you might want to reconsider a working relationship.
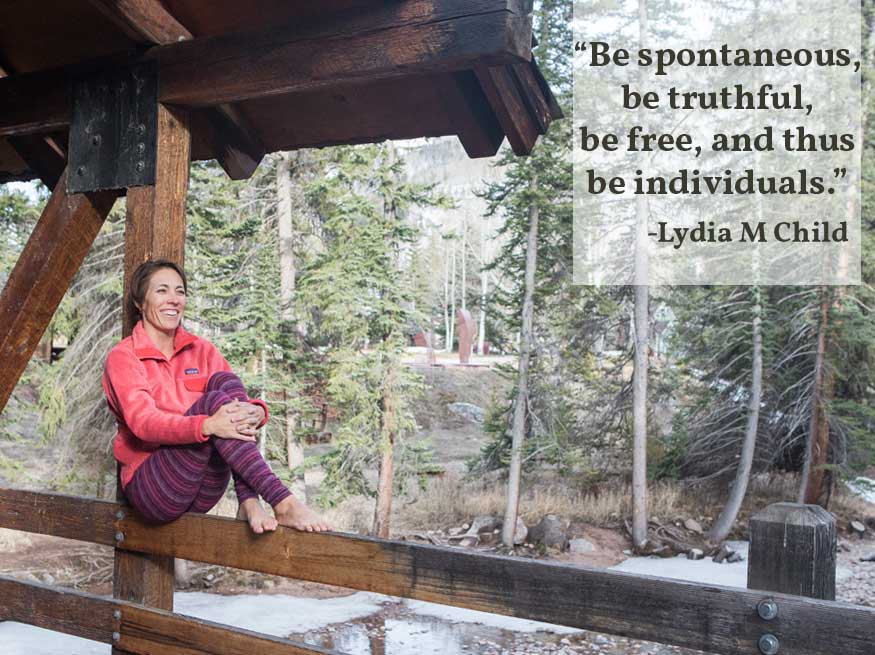
Photo Credit: Bex White
STEP 5: CREATE A VISION BOARD
The business behind a yoga photo shoot not only includes left-brained organization, but it requires your creativity, too. Scour the internet, social media sites, and yoga magazines for poses you’d like to include in your session. There are so many ways in which to visually capture a pose! You will refine the angles you prefer, and be able to visualize yourself in each posture, by reviewing numerous images online.
Save the pictures you like in a specific folder on your phone. This will make it easy to share these images with the photographer on site. You can also email them your ideas ahead of time (just make sure you do this in ONE email, instead of bombarding their inbox with yoga photos).
PUTTING IT TOGETHER
Now that you have the logistical details in place for your next yoga photoshoot, and your creative mind has been put to work, return your focus to your personal practice. Teaching yoga is not nearly enough time on the mat to remain limber and balanced yourself. This is especially true of poses you will want to replicate during the time of your photo shoot.
Then, over the next few weeks, we’ll share:
- Additional tips to prepare for your upcoming session
- What to pack for an outdoor photo shoot?
- How to best enlist support from friends, family, and colleagues for your shoot
- Ways in which you can select the best photos provided by the photographer, and
- When to share your newly acquired photos for maximum impact online
If you have any other photo-related questions, send us an email. We love talking about this topic and are happy to help in any way we can! And make sure you download our checklist to ensure you’re fully prepared for your next photo shoot.


Definitely, what a splendid blog and illuminating posts, I surely will bookmark your site.All the Best!
Thanks! I appreciate your comments! Cheers!