 Your website is an extension of you and your brand. It’s a powerful tool to share your message with a broad audience. Yet designing a website can be more challenging than you might expect. There’s the techy lingo and the unlimited possibilities to bring your ideas to life. In order to prevent unnecessary stress in the process, we’ve developed 5 simple steps you can use to design a yoga website of your own.
Over the past decade, I’ve designed numerous websites for my own brands and many other small businesses. The easiest part for me is creating content, as I love to write and produce images. I’m a quick learner, and in the beginning, often found it helpful to use online templates as a foundation for my design work.
In almost every case, though, I ended up collaborating with a web developer to handle the more complicated coding elements. This is where I noticed problems occur. There were often gaps between how my ideas were shared and how they were implemented virtually on my site. This led to frustration, time delays, and an increased overall cost to bring my website to life. These issues could have been avoided through proper preparation and clear communication.
There are many steps you can take before working with a web developer, and I’ll share them with you below. In fact, following them can actually make the designing your yoga website fun! Please note, if you have an existing website already, you can review it using the topics below to keep your site fresh. This ongoing improvement will set you apart in the online space.
STEP 1: RECRUIT A GREAT TEAM
While you might be doing most of the design work in the following steps, working with a team of people can elicit the best possible website for your brand. This team could include a variety of professionals, including a:
- Web developer
- Professional photographer
- Content editor
- Marketing specialist, and
- Graphic designer
It can be helpful to list who you might want on your team. If you don’t have any professionals lined up just yet, ask for referrals from other colleagues. Or, search online for those who are in your area and have great reviews. Do some research and check out the work they’ve done thus far and see if they may be a good fit.
You will probably have a better idea of what you want from each of your team members once you’ve completed the other steps. So, for now, consider how you can enhance your own role in the design process. Your responsibilities will include:
- Keeping your team small. Working with few, knowledgeable people can limit your confusion and overwhelm
- Forming design ideas that reflect your goals. The remaining steps will help with this.
- Initiating contact with your team members throughout the process. Clear communication will keep the process running more smoothly.
- Asking for clarity when you don’t understand what is being said. Listening to what your team members are saying will help you formulate great questions.
- Creating website content
- Establishing a clear timeline for your project
Again, you might want to include additional players to help you sort out the above responsibilities. Being prepared in advance for whatever is needed will give you a headstart in the process, saving you time and money in the long run.
STEP 2: UNDERSTAND THE TERMS
While you might already spend a lot of time on the internet, you may not be familiar with the important terms involved in the day-to-day surfing that you do. When you then go to work with others to build out your site, terminology in the industry might be confusing or intimidating.
To help reduce anxiety or frustration, take some time to understand website-related terms. The more you understand these terms, the more efficiently you can communicate with technical personnel and web developers. You’ll be able to more effectively express your needs and goals. You’ll also be able to comprehend any questions that may come your way during the process.
And it will make it easier should you choose to manage and update your own site in the future.
 Use a site like www.netlingo.com to get definitions to some of the common terms below. This list is not exhaustive but will familiarize you with website concepts.
- Back end
- Banner
- Domain name
- Download
- FTP: File Transfer Protocol
- HTML: Hypertext Markup Language
- ISP: Internet Service Provider
- JPEG
- Menu
- Navigation bars
- SEO: Search Engine Optimization
- URL: Uniform Resource Locator
Please stick with this. I promise that taking a little bit of time to understand your website and how it works will make the entire process more smooth. And, if you want to work on more of the creative aspects of your web design first, move on to Step 3.
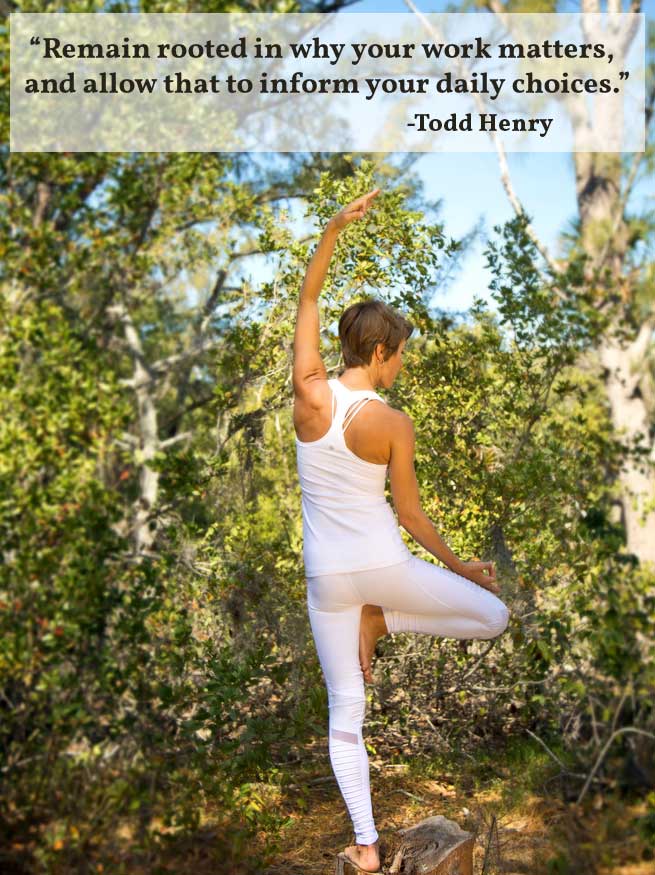
Photo Credit: Ember and Earth Photography
STEP 3: DO SOME RESEARCH
There are billions of websites that are on the internet today. The most successful ones are attractive, engaging, and easy to navigate. Look for existing yoga websites that have these attributes, and use their platform as a way to clarify what you want to include on your own site. You might also explore other health-related businesses or look at familiar sites of people you follow already.
Then, narrow down your search to four websites that you really like. Describe what you like about them with as much detail as possible. Consider the following questions:
- What colors appeal to me?
- What draws me into the site?
- What do I like about the style? Layout?
- Is the site easy to navigate? If so, how?
- What do I like about the photos? Videos? Photo placement
- What do I like about the wording?
- Is information easy to find on the site? If so, how?
- What emotions arise looking at the site?
The possibilities really are endless. Instead of reinventing the wheel, you can weave the elements you love from them into your own site. Plus, giving some visual ideas to your web developers down the road can save them time and energy too.
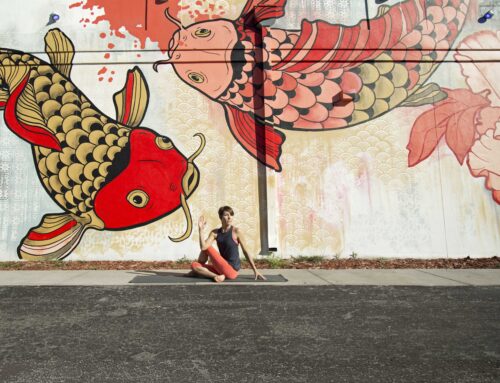
Photo Credit: Freddie Marriage
STEP 4: CLARIFY YOUR IDEAS
The fourth step of this process involves combining the ideas from your research above with your specific, unique goals for your own yoga website. Some of the best ways to clarify your own desires for your site can be done by answering questions.
We have developed a short questionnaire that will help you put your ideas down on paper. Some of the questions are as follows:
- What is your timeline for completion?
- Who are the primary contacts from your organization?
- What type of website are you designing?
- Who has final approval on the project?
- What is your mission statement, or your main message to share?
- What are your primary objectives for the site?
Since there are too many to include here, and lots of follow up questions within each section, we suggest you download the entire PDF below. When you create concise answers to these questions, you can more easily move from the design of your yoga website to the development of it.
STEP 5: BUILD GREAT CONTENT
Great content on your yoga website is one of the best indicators of long-term success for your brand in this digital age. In order to connect with your visitors, consider their interests. Think about what questions they have, and how you might be able to provide answers for them. Present material, products, or services that will improve their lives (and then talk about how you’ll do that throughout your site)
There are many elements to include within the content of your site. Some major components include:
Graphics
Graphics include everything from clip art to illustrations to logos. It also includes images you create as well as stock photos you purchase. You’ll want all graphics to support your theme and overall message. The questions you answered above will also help you decide which graphics you want to use within your site and where.
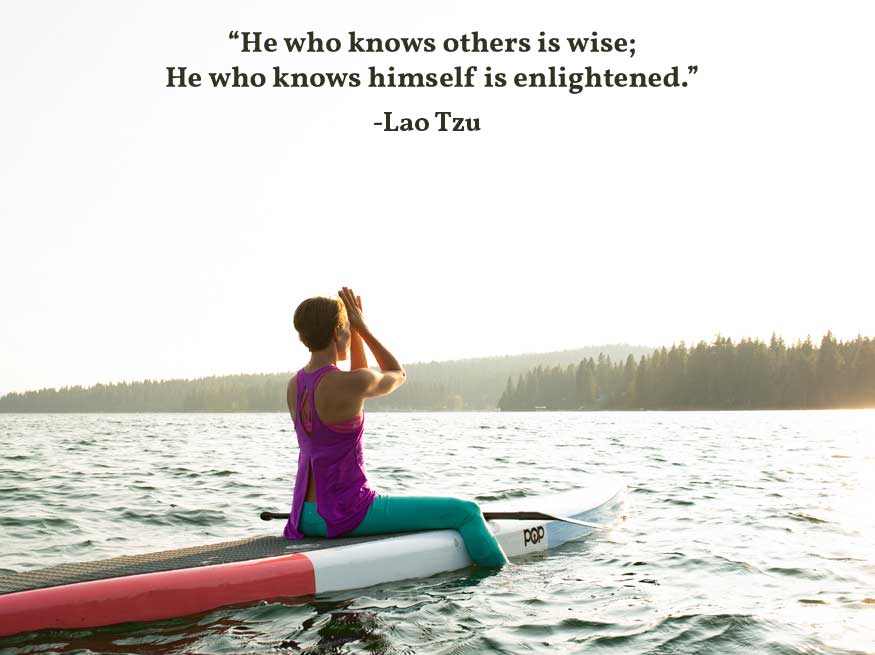
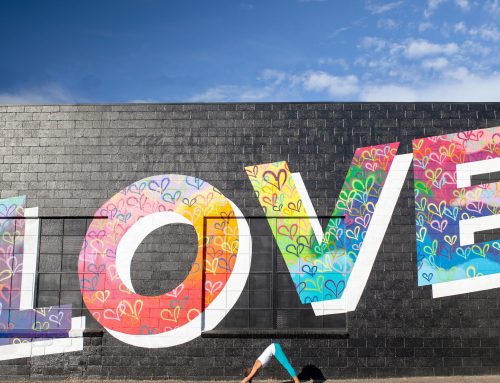
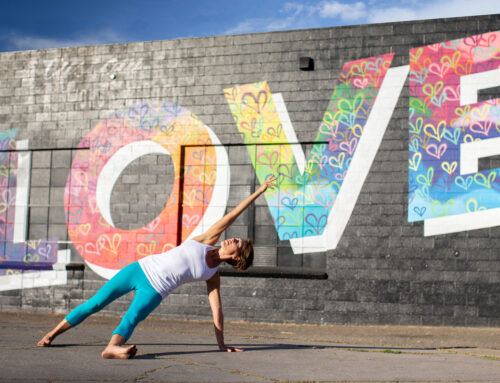
Photo Credit: Diane Nicole Photography
Written Text
While pictures might say a thousand words, you’ll still need to have written text to tell visitors what they’ll gain from working with you. Keep in mind that people want to know how they will be different as a result of taking your classes or buying your products. And, it helps to explain the reasons behind what you’re doing so that an authentic connection can be made.
At Swagtail, we provide content writing and editing for yoga websites. Whether you work with us, or another professional, make sure you also check grammar and spelling within your writing style to sustain your credibility.
Testimonials
Written endorsements, as well as pictures and videos of your clients, speak volumes about your integrity. Ask your students for their support. Invite clients to give you feedback. Then, decide how to best document this information and weave it into your site.
Products and Pricing
Your written content can be formatted into products you sell online. You might also have videos or other ways in which people can work with you online. You might also have direct links to the pricing structure at your studio or for your private classes. In any case, make a list of products and their associated prices before your site goes live.
Communication
How will you invite visitors to communicate with you? How will you continue this conversation? Will it be through social media channels or a subscription or physical, communal classes? Make sure you let people know how to reach you and how to stay in touch!
While these are only a few content-related items you could include in your site, executing them with precision and consistency helps you stand apart from other yoga websites out there today.

Photo Credit: Paula May
PUTTING IT TOGETHER
Successful websites are attractive, engaging, and easy to navigate. Yet, the process for designing your yoga website might seem stressful and overwhelming. When you take the time to recruit a great team, learn the techy terminology, and do your research, you generate a solid base from which to operate. Then, you can add in your creativity and unique spark to refine your design elements and build great content that will speak to your visitors, clients, and students.

Leave A Comment